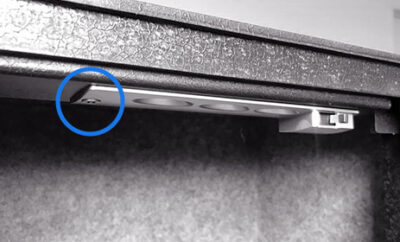
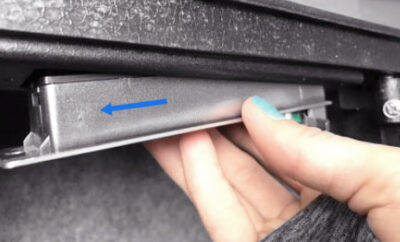
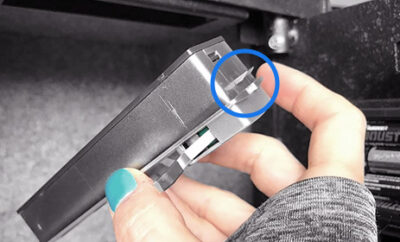
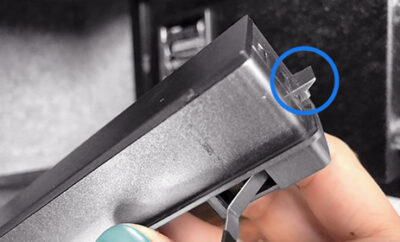
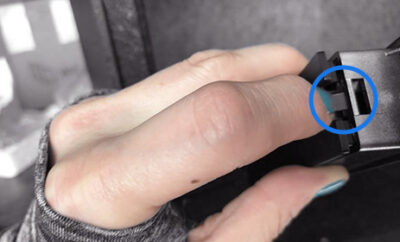
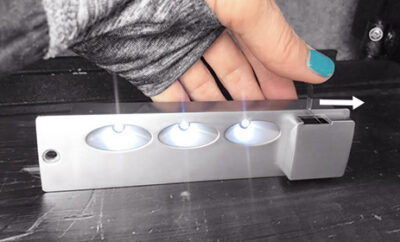
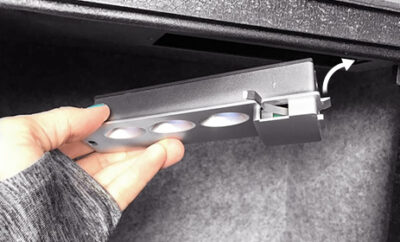
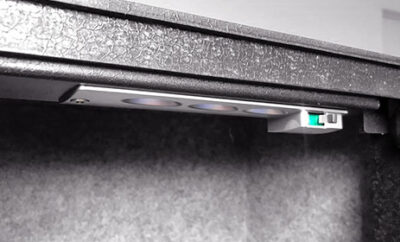
You will notice that one side of the LED unit has a small plastic tab. This tab holds the light securely in place when it is installed in the frame.
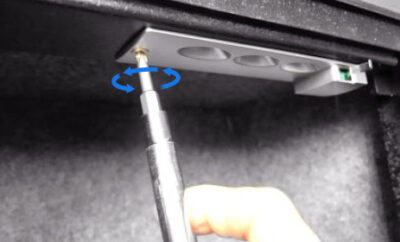
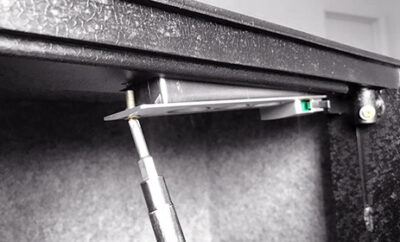
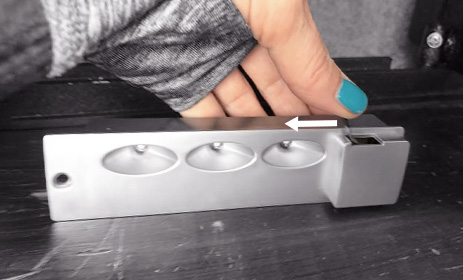
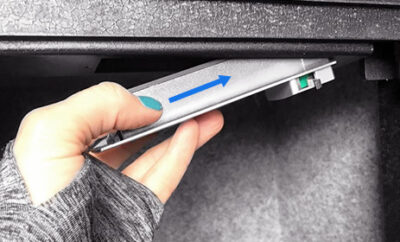
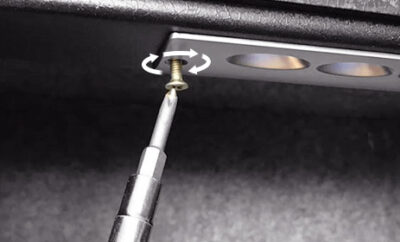
When reinstalling, this side must be positioned correctly to lock into the housing. Do not force the unit out — it should slide out smoothly once the screw side is released.
Viking Security Safe VS-12LSX Heavy Duty Mechanical Safe Simplex Lock Two Gun Safe 2 Handgun Capacity Pistol Safe with Security Cable Lock
Viking Security Safe VS-12LSX Wide Two Gun, handgun Safe, Top opening with Genuine Dormakaba Simplex Lock 5 pushbutton Fully Mechanical safe! This safe is practically Forever Safe, with no electronics, no keys, and no batteries to worry about. It will protect your guns and valuables no matter where you mount it.
Features:
NO Keys. NO Electronics. NO Batteries.NO Worries! This gun safe is equipped with (USA Patented) Original Dormakaba Fully Mechanical Pushbutton Simplex Lock. Made of metal with no batteries required, Simplex pushbutton lock has proven maximum security over several decades. It opens with 1 PIN combo among 1000 combinations. Purely Mechanical & Highly Secure. FOREVER HANDGUN SAFE.
SAFETY FEATURES:Made of Steel. Tightly Sealed Laser Cut, Two Guns Safe with a massive 5 mm door; Sledgehammer-protected hinges; SolidSteel 40 mm Deadbolt; ProtectiveLock Chamber – solid steal casing prevents Simplex Lock on the inside from forceful break-in. PRY-RESISTANT BY DESIGN.
CONVENIENCE: All-Sided Foam Interior, LED Light, Gas Assisted Strut Lifts the top easily, Accessory Pouch, Removable cable lock, and extra padding to keep protected your guns, handguns, ammo, Jewelry, Cash, Electronics, Important Documents, and more; EASY TO SET UP & SIMPLE TO USE FOREVER.
External Dimensions: H 4.2” (107 mm) x W 12.5” (318 mm) x D 10.2” (260mm); Weight: 23 lbs. (11 kg).
DEFENSE for the people: 100 % Service & Solution Warranted by VIKING SECURITY SAFE. Designed in San Francisco and Made in China.
Additional Specifications:
Laser-cut alloy steel construction with a 5mm door top opening with Gas Assisted Strut Lift.
Fully Mechanical Genuine Simplex 5 Pushbutton lock with single PIN access combo among 1000 combinations to choose from
Stainless steel 40mm deadbolt and Removable Lock Cable for added security.
Lock Chamber shields the Simplex Lock on the inside, preventing forceful intrusions while keeping the safe locked.
Heavy-duty steel construction with seamless welding and scratch-resistant military coating
Foam interior all around, discrete LED light, and accessory pouch for convenience
Impact-resistant and pry-resistant by design
100 % Service & Solution Warranted by VIKING SECURITY SAFE. Designed in San Francisco, made in China
Overall Dimensions:
H 4.2” (107 mm) x W 12.5” (318 mm) x D 10.2” (260mm); Weight: 23 lbs. (11 kg)
Maximize your protection for people and belongings with this compact Viking Security Safe VS-12LSX Compact, 2-Gun, Handgun Safe. Some say it is Forever Safe. Its reliability starts with the Genuine Simplex pushbutton Purely Mechanical lock in Satin Chrome. This top-opening safe is made of steel. Its massive 5mm door opens easily with Gas Assisted Strut.Laser cut and Seamlessly Welded with no gaps, this safe is Pry-Resistant by design. The thick Stainless Steel 40mm deadbolt and steel Lock Chamber housing the Simplex mechanical lock protect the safe from forceful intrusion while keeping the safe locked. A removable Security Cable is added to secure VS-12LSX safe for transporting or temporarily securing it. The interior is lined with foam all around, with discrete LED lights and an accessory pouch for added convenience. The VS-12LSX safe, robust construction is finished in matte black, scratch-resistant, weather-resistant military coating. The VS-12LSX Top Opening Fully Mechanical Genuine Simplex 5 pushbutton lock is easy to set up and easy to use. No keys to fall into the wrong hands. No electronics nor batteries, no failures. It is the most reliable in its class. Set it up once and use it forever. It comes with standard pre-drilled holes for easy installation. Mounting to a permanent location is strongly suggested. 100 % Service & Solution Warranted by VIKING SECURITY SAFE.